Translation notice Traduction manquante
This article is currently available only in English. Cet article est seulement disponible en anglais pour le moment.
Steamdeck_Repair
I'm the proud and happy owner of a Steam Deck. I bought mine in March 2023 by selling some of my Counter-Strike skins. I'm still quite amazed that the money I've apparently been investing in Counter-Strike didn't just get gambled away, but actually ended up paying for a handheld computer. (I even bought the dock!) All was well until, just over a year later, I had a power bank connected and the USB-C cable somehow shorted something out. Gone was that divine Steam Deck smell, replaced by the unmistakable smell of burnt electronics. After opening up the Deck, I found one chip that was clearly damaged. So I decided to investigate and try to repair my precious "free" handheld computer.
Teardown Time
See a screw? Unscrew it! I think that's a pretty good technique for taking things apart. Jokes aside, iFixit has a great teardown guide for the Steam Deck, and I strongly recommend referring to it if you want to disassemble yours.
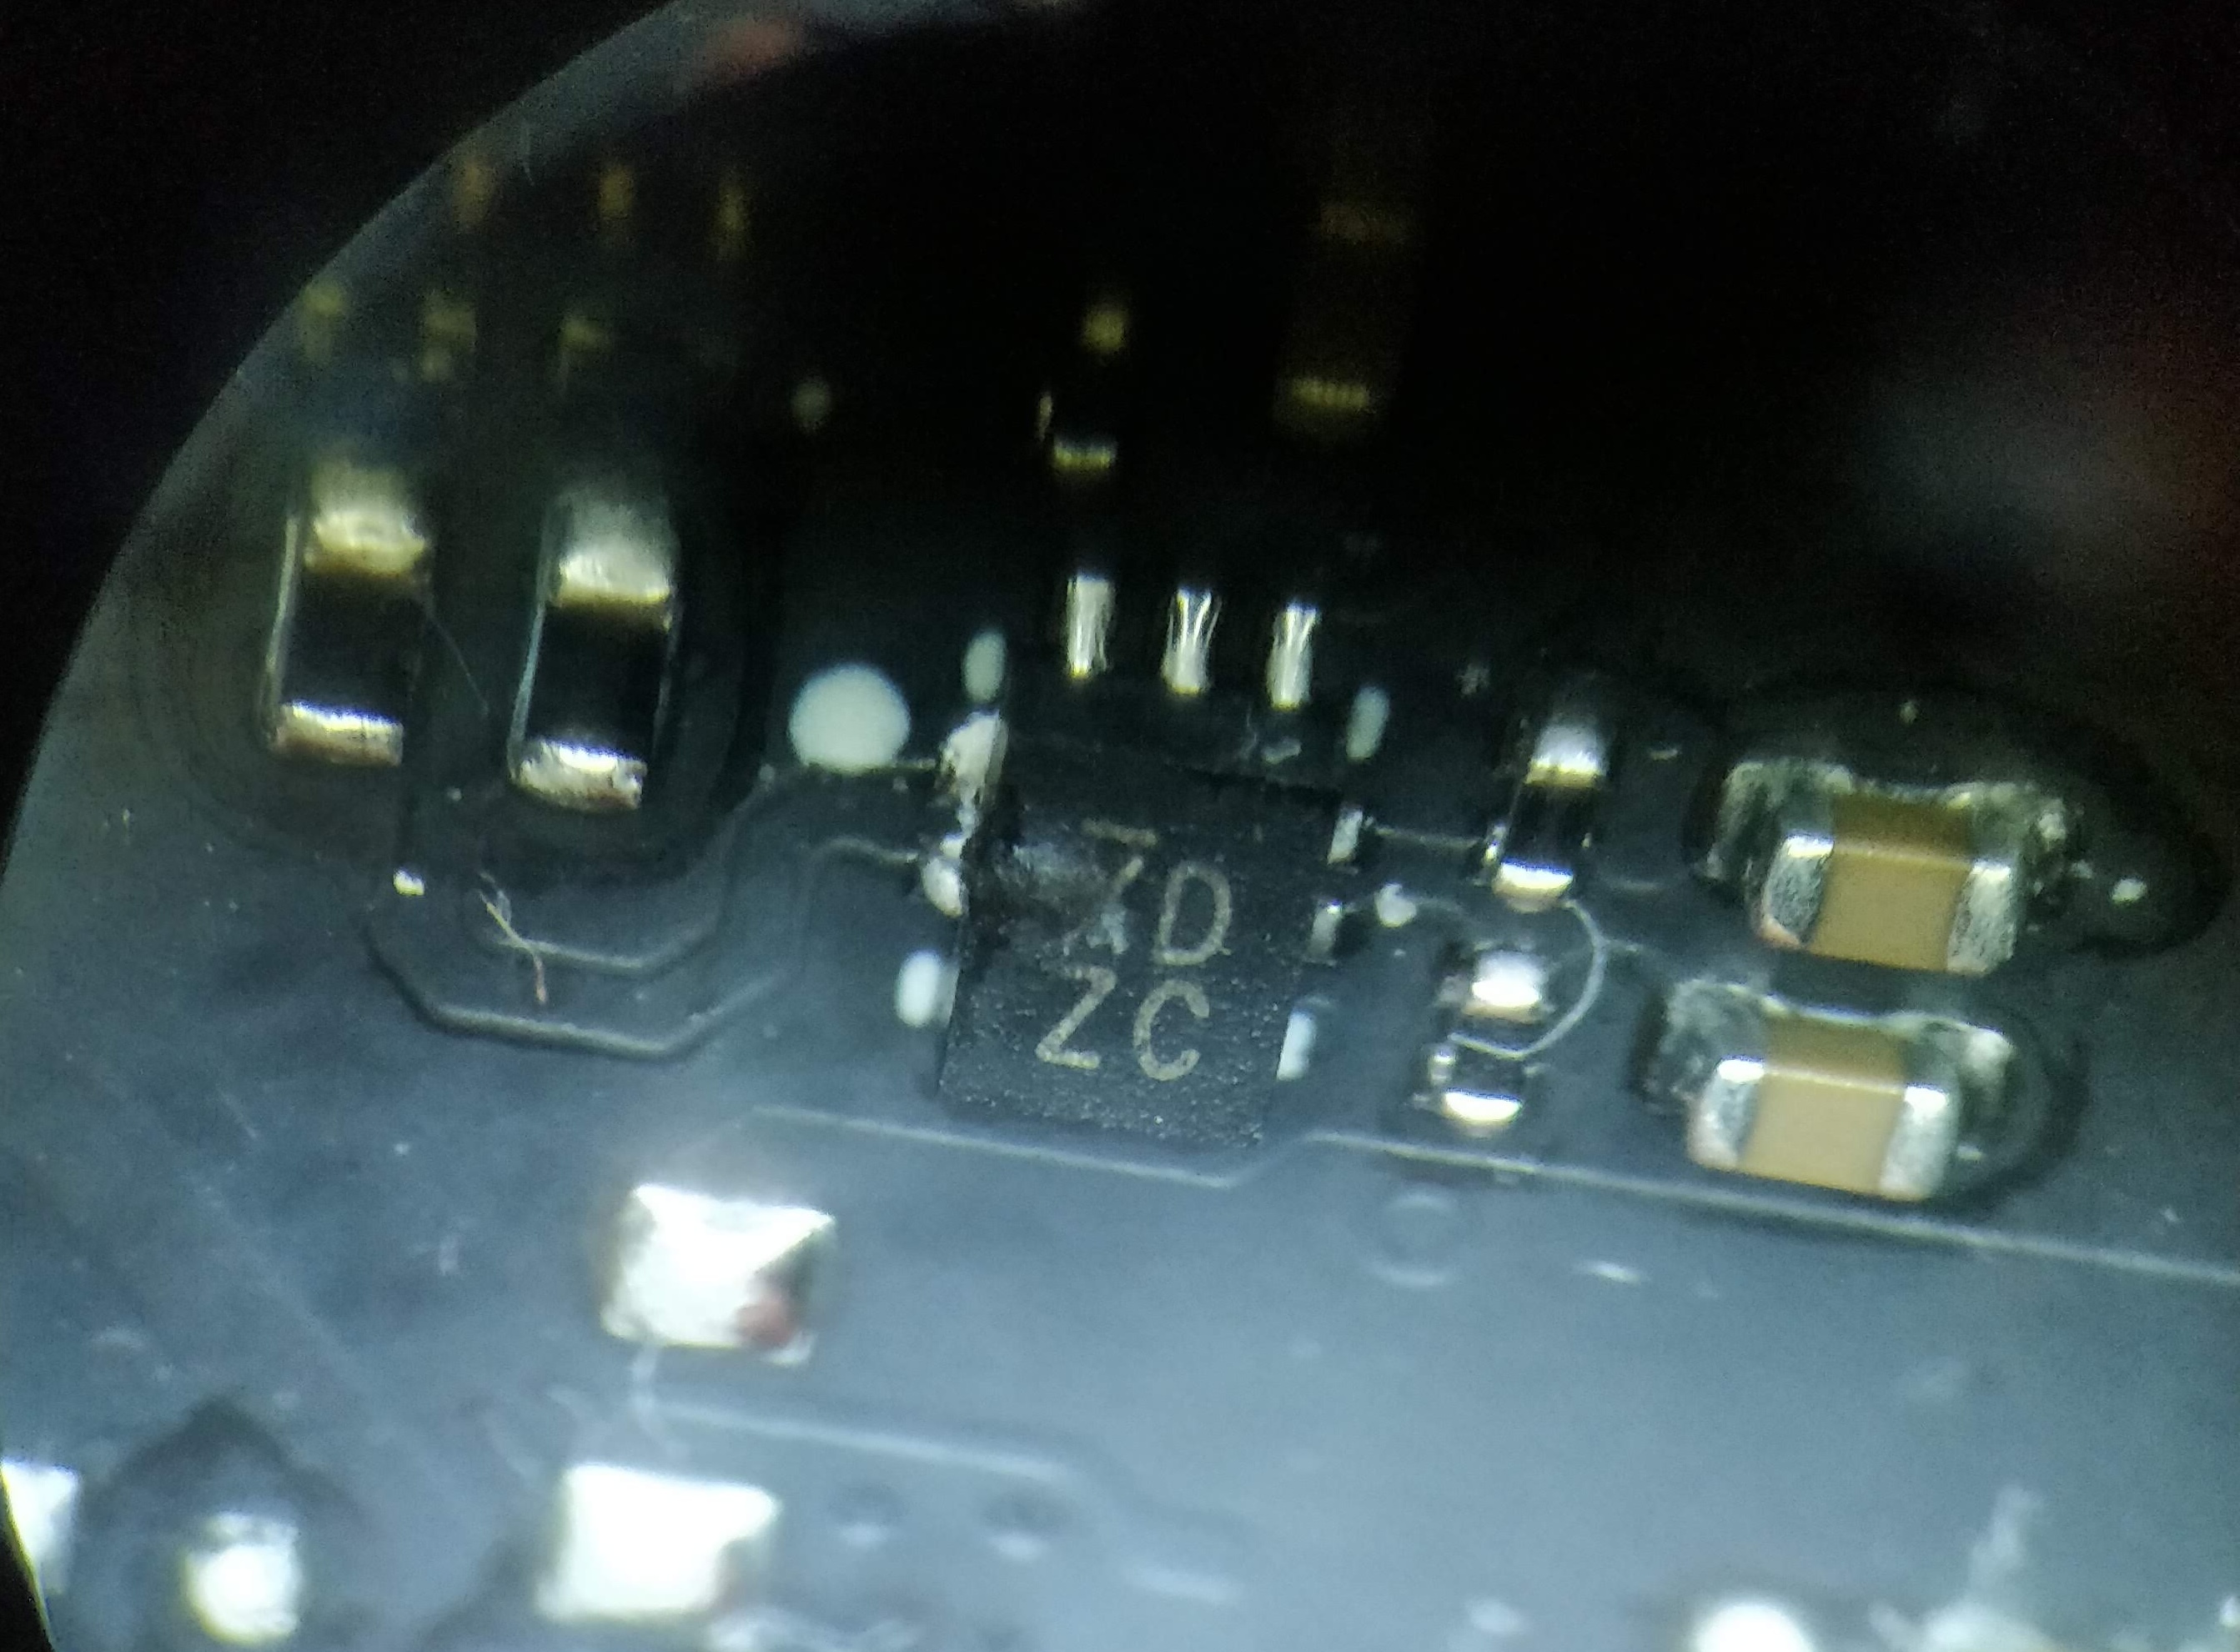
The damaged chip
Chip identification time!
The markings on the IC are XD ZC. I tried using the SMD Cookbook to identify the chip, but with no luck.
Luckily for me, iFixit did some chip identification work on the Steam Deck, which really sped up the process of identifying the damaged IC.
The photo we're particularly interested in is this one:

Based Ifixit
The chip highlighted in dark blue is the one that burnt out on my motherboard. iFixit identifies the component as a "Diodes Incorporated PI3USB102 USB 2.0 SPDT Analog Switch".
Which package?
The problem is that the markings on my IC don't quite match the documentation. I couldn't find a 100% match between the chip on my Deck and the available datasheets.
| Ordering Code | Package Code | Package Description | Top Mark |
|---|---|---|---|
| PI3USB102GZLEX | ZL | 10-contact, Thin Fine Pitch Quad Flat No-Lead (TQFN) | JW |
| PI3USB102ZLE | ZL | Pb-free & Green, 10-contact TQFN | XD |
| PI3USB102ZME | ZM | Pb-free & Green, 10-contact UQFN | XD |
So, based on the part numbers and their associated markings, I would expect the correct part number to be something like PI3USB102ZCE. The problem? That part doesn't seem to exist, or at least I couldn't find it documented anywhere.
The only differences between the TQFN and UQFN packages seem to be their height and physical dimensions. Their pin pitch and pinout are identical.
So I went ahead and ordered the most readily available one on AliExpress for a whopping €5.
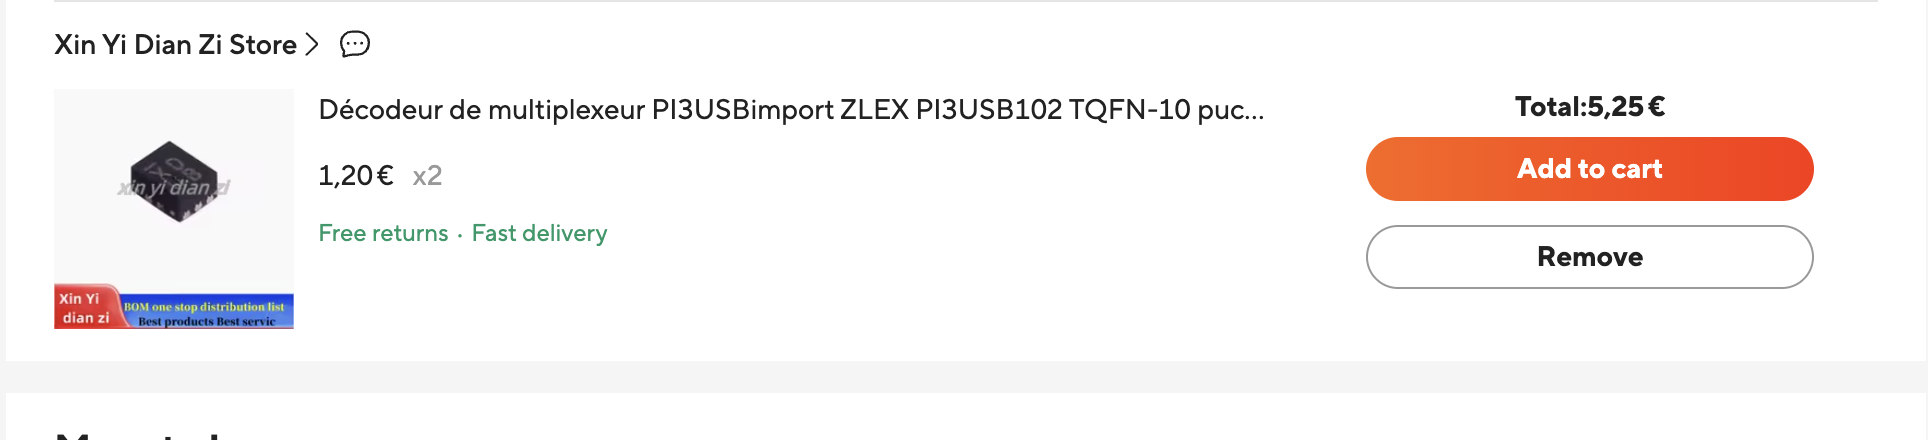
A true shopping spree
Swap time!
The chip measures just 1.6 mm by 1.3 mm, with no visible pins. A hot-air gun with a fine nozzle is clearly the star of the show for this operation.
After applying some flux and evenly heating the PCB, I was able to lift the damaged chip off with a pair of fine-tipped tweezers.
Next, I added some leaded solder and flux to clean up the pads and make the whole operation a little easier. Leaded solder has a lower melting point than most lead-free solder, which helps quite a bit here.
Then, I applied some flux to the empty footprint and roughly positioned the replacement chip in its new home. The hot-air gun made its grand return to heat up both the PCB and the new chip. The tricky part is keeping the chip in place, otherwise it'll just fly away! (Ask me how I know)
With a bit (okay, a lot) of patience and even heating, the solder eventually reflowed and the chip settled into place. I also gently pressed down on the chip to help it sit flush against the PCB and squeeze out any excess solder.
Finally, I applied some more flux around the edges of the IC and cleaned up any remaining solder blobs.